
Thursday, November 29, 2012

Wednesday, November 28, 2012
Here is my second-ever blog! Thanx to elves who are great helpers.
Well, I had 3 mostly uninterrupted days to "play" thanks to no meetings and lots of football on TV which my husband is addicted to, so I started a piece with my Jazz theme.
For the background, using 140 lb. cold-pressed paper , watercolors , a large brush and lots of water ,I used the wet- into -wet technique to get the surface covered .I tipped and turned the paper to get the paint "bleeding" and dripping. Then, while the paint was wet I used a couple of things to create some texture - salt, alchol, and some kids' alphabet stamps. I then looked for some shapes to highlight with thicker paint and a small brush. At first I saw flowers but when I turned it upside down I saw a trumpet!
When all was dry, I collaged the image of a musician which I had printed on tissue paper, and then went back to the paintbox to touch it up in a few places. I was OK with it for awhile but every time I looked at it something niggled at me. I added another image and even though I lost some of the textures and images on the background I liked the piece better.
 So far it is untitled!
(In my computer file the picture is vertical!! )
Well, I had 3 mostly uninterrupted days to "play" thanks to no meetings and lots of football on TV which my husband is addicted to, so I started a piece with my Jazz theme.
For the background, using 140 lb. cold-pressed paper , watercolors , a large brush and lots of water ,I used the wet- into -wet technique to get the surface covered .I tipped and turned the paper to get the paint "bleeding" and dripping. Then, while the paint was wet I used a couple of things to create some texture - salt, alchol, and some kids' alphabet stamps. I then looked for some shapes to highlight with thicker paint and a small brush. At first I saw flowers but when I turned it upside down I saw a trumpet!
When all was dry, I collaged the image of a musician which I had printed on tissue paper, and then went back to the paintbox to touch it up in a few places. I was OK with it for awhile but every time I looked at it something niggled at me. I added another image and even though I lost some of the textures and images on the background I liked the piece better.

(In my computer file the picture is vertical!! )
Tuesday, November 27, 2012
Just HAD to share!
If you read my art blog, this will be a repeat for you...but it is short so I hope you won't mind.
I was busy working away on about 4 projects today in the studio but I just had to take a break to post something. As for many of you...this is the season for mountains of mail-order catalogs. While I seldom order anything...they keep coming. I have to admit, I do enjoy looking through them anyway. Daydreaming perhaps. In one yesterday, I saw this saying on a T-shirt for purchase. I think it bears sharing. (My apologies to those who also get catalogs and have seen this a bazillion time - this was my first.)
Earth without ART is just "Eh"
I love it! Short, sweet and to the point. I couldn't agree more!
So again...it reminds me of just how much I appreciate all of this creative, rule-breaking, bunch!! Let's stop "Eh" one art work at a time!!!
Earth without ART is just "Eh"
I love it! Short, sweet and to the point. I couldn't agree more!
So again...it reminds me of just how much I appreciate all of this creative, rule-breaking, bunch!! Let's stop "Eh" one art work at a time!!!
Spotlight on Textile Artist Meta
Click on this link and you can read more about Meta and the online gallery she started:
http://www.textileartist.org/
http://www.textileartist.org/
Sunday, November 25, 2012
The Wolf Saga
So here we go.....
I decided to post the progress of one particular manhole cover so you could see the process.
1) Took a photo of the manhole cover and printed it out


I decided to post the progress of one particular manhole cover so you could see the process.

2) Made a line drawing of the manhole cover.

3) Using carbon paper, I then trace the line drawing onto the print block. One difficult part of this process to me is deciding what parts to recede and what parts to stand out. You can see marks in the photo in step 2 where I was working on just that question. Below is my third attempt and I think I've got it like I want it this time.

4) Then I begin carving out the bits I don't want to print. I've just begun on the wolf so you can see the comparison.

There is a lot of work ahead. The carving takes a while. One reason is because one can only carve for so long at one sitting without having to run off to the chiropractor immediately!
So I'm on my way. I'll keep you posted!!
Thursday, November 22, 2012
My theme
Ummm this is tricky for me as I love doing both my African art


as well as my wierd and wonderful faces.


Will think along these two themes some more and finally decide and let you know. Maybe it will be 'African Faces' Haha.


as well as my wierd and wonderful faces.


Will think along these two themes some more and finally decide and let you know. Maybe it will be 'African Faces' Haha.
Tuesday, November 20, 2012
Lines
When I was thinking about my theme for the coming year, I had several ideas. I am not mentioning these in sequence of preference! As I am a member of Voyage as well for which I picked trees as theme, I did not want to duplicate this theme. Well at least not for the whole year <grin>. Another idea I had was Earth Goddess, but my drawing skills are limited so I am afraid that the focus would shift to the backgrounds if I pick this one. The theme I decided upon is Lines. This might sound boring, but here are some pictures I googled with the word lines:
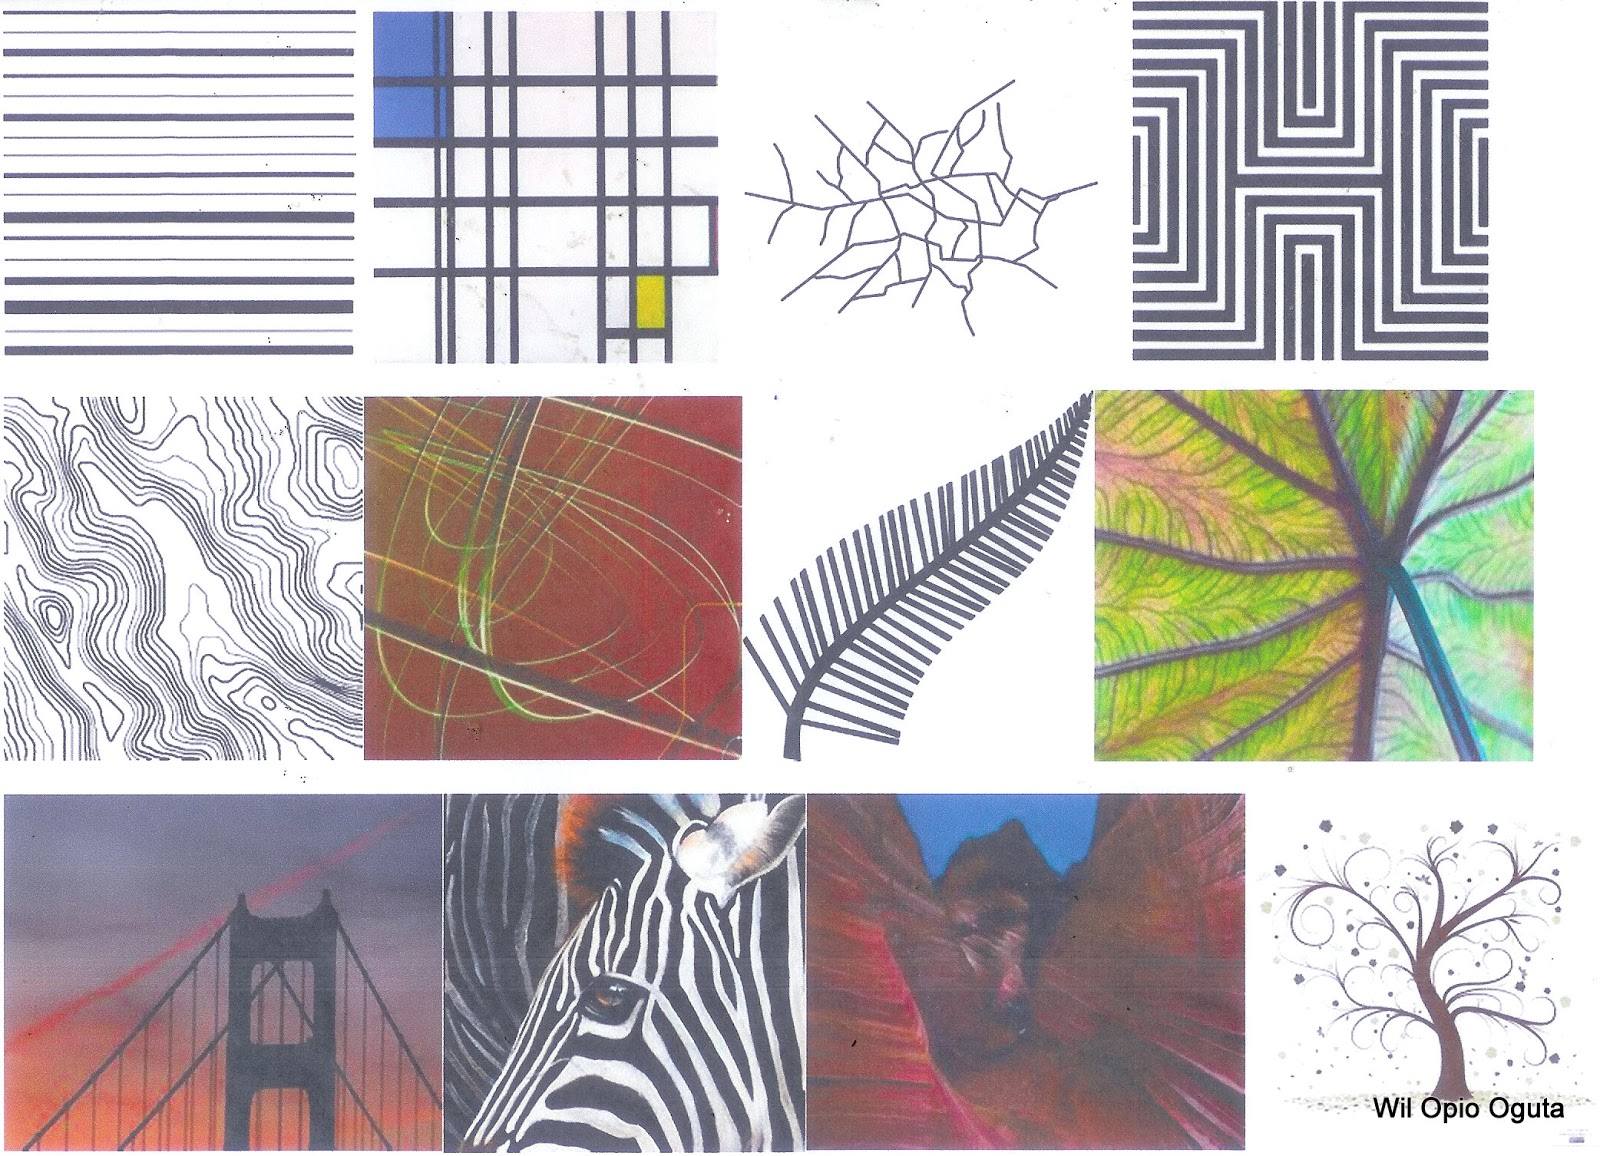
As you see there are so many ways in which you can use lines. And these pictures show only a few examples :-) I wonder how many pieces I could make with this theme before I get bored??
Subscribe to:
Posts (Atom)