Showing posts with label lines. Show all posts

Friday, July 26, 2013

Zebra

While I was with Kelly last month, we did not have just fun, but we were also very active. During those weeks I completed 2 pieces for my lines theme. In the previous post I have shown Ghostflowers and here is Zebra. Okay, the name is not very Original, I know :-). A couple of years ago I made another quilt based on a zebra. And that one focussed on a specific part of the animal. Click on this link to see a picture of it. For this quilt I used commercial black and red fabric and white silk noir. The pictures of the zebra's are printed on silk organza. Size of this one is 25"x41".

Friday, June 28, 2013

Ghost flowers

Another quilt in my lines theme is finished. I dyed the background fabric a couple of years ago and quilted it last month. The size of the quilt is roughly 40"x40" so this took a lot of hours of machine work. Next step was to cut out and applique the ghost flowers. For this I used a pounded fabric, another oldie:-). And this is how it looks now.

Sunday, January 6, 2013

Red brick road


Another line quilt is finished!! If you follow my personal blog you have seen these pictures before :-). For this quilt I started with 126 black strips and 9 red strips. The black is a commercial fabric, the red a hand dyed one. They will be stitched on white raw silk.

Fabric for the back is this red one. No idea why I ever bought this, because the shiny top makes it very difficult to use in any project. That is the reason that I used the reverse side (at the right) as it looks much more decent.
The top turned out rather big, so instead of using my domestic Janome I used my HQ16 for the stitching. The strips were fused to the silk. I did not keep track of the time, but I spend a lot of hours working on it.
Recently I discovered a way of finishing the edges while not using a binding. This technique requires a bit more planning in advance, but it works out nicely. Important is that the quilting does not go over the planned dimensions! When all the quilting is finished, I placed the quilt like this on my working tables and used a black marker to draw the size on the fabric. The size is roughly 28"x48". Next step is to carefully cut away the back fabric and the batting.

 
The white fabric which is sticking out is then folding as a seam to the back of the quilt and stitched. And this is how the end result looks like:
Inspiration for the title came from Dorothy's Yellow brick road. This 2nd lines quilt is completely different from the first one and the idea for a 3rd - again different - one is brewing :-)).


Tuesday, December 4, 2012

Silent water

Late 2010 I made a journal quilt using stitched lines and paint. The fabric was folded and stitched like that, next step was to paint the fabric, let it dry and remove the stitched lines. This is how the journal quilt looked when it was finished:
 I really loved this technique and wanted to do it again on a bigger scale. So I picked a half yard of fabric which I had dyed. Don't ask me which color I used because this was somewhere in 2011. Stitching all those lines was so boring that regularly it was put away to do something more interesting :-). After many months the stitching was finally done (July 2012) and this is a detail picture of how the back looked like:
 And this is how it looked from the front:
Finally it was time to play. I pinned the fabric on top of a foam board and opened several Lumiere paint bottles, shimmering pearl, blue, turquoise and a bit of pale green. This is how it looked after the painting:
And now the fun part, removing all the stitches and ironing it. At last you could see how it was going to look: 
Time to start quilting. As the main focus of this top was lines (and this was months before I decided to work with this theme) the quilting lines just followed the painted lines. Interesting, but it needed a bit more. I decided on adding turquoise beads on it. But before I could add these, the quilt had to be blocked and sleeve added as well. I did not want a traditional border around it, but decided to do a facing. This made the quilt a bit narrower, but that was okay. When this was done I ordered several different types of turquoise beads - and of course did not use all the different ones - and this is how it looks now:
From beginning to end it almost took 2 years to complete it, but I am happy with it. The title Silent Water refers to the reflection you see on water, not knowing that the falling beads will disrupt the silence quite soon.
This quilt is the first one in my series of Lines. Size is 17"x37".

Tuesday, November 20, 2012

Lines

 
When I was thinking about my theme for the coming year, I had several ideas. I am not mentioning these in sequence of preference! As I am a member of Voyage as well for which I picked trees as theme, I did not want to duplicate this theme. Well at least not for the whole year <grin>. Another idea I had was Earth Goddess, but my drawing skills are limited so I am afraid that the focus would shift to the backgrounds if I pick this one. The theme I decided upon is Lines. This might sound boring, but here are some pictures I googled with the word lines:

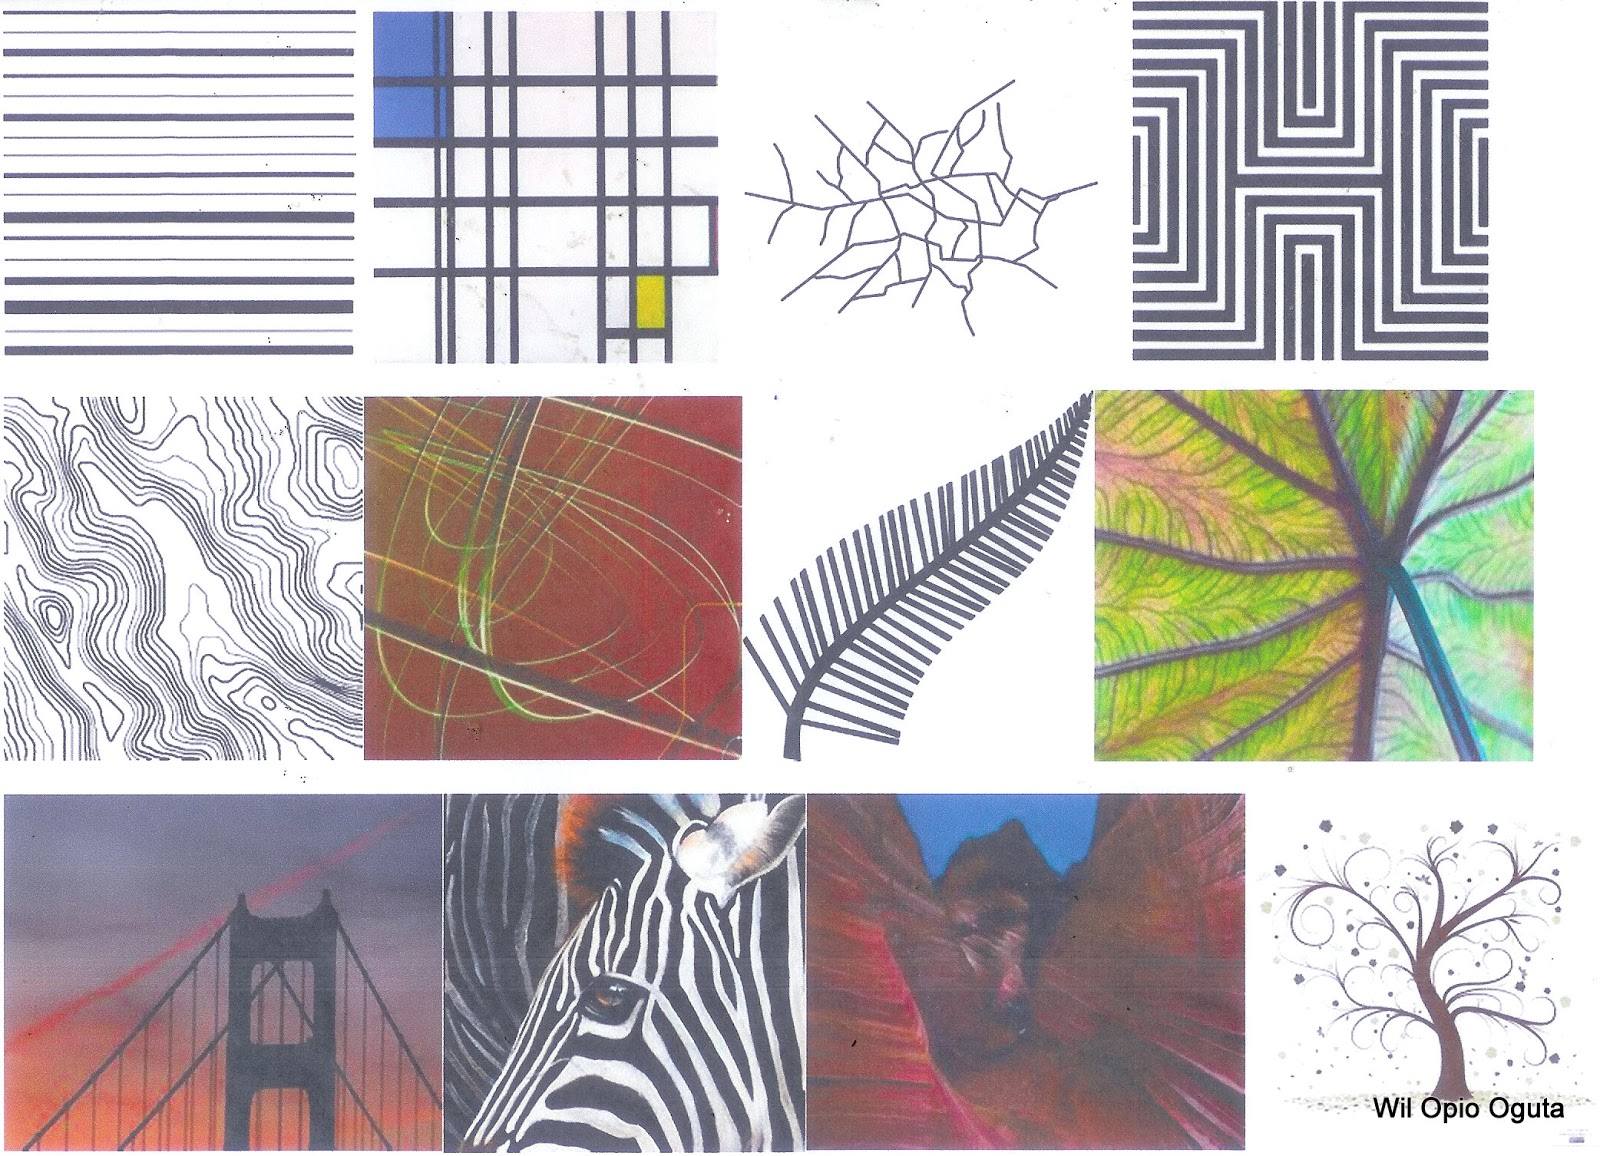
As you see there are so many ways in which you can use lines. And these pictures show only a few examples :-) I wonder how many pieces I could make with this theme before I get bored??